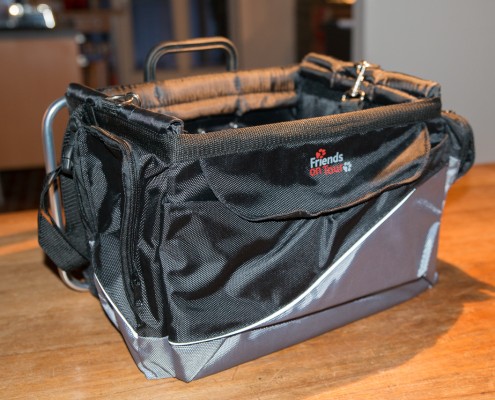
Got my Game Bag not too long ago and now again I need a new bag for my Brompton. Shortly a small little dog will become a new member of our family and I need a place to transport the puppy with my Brompton.
I found no option within the Brompton portfolio. So I bought a cheap one labeled “Friends on tour“. This one is made to transport a small dog but it not made to fit in the Brompton front carrier.
Next was to order the expensive standard front carrier frame only (£20 or 49,- €). I need one to connect the new bag to my Brompton with this frame. The only problem: the frame is to wide for the bag and so you will have to cut those aluminium rails.
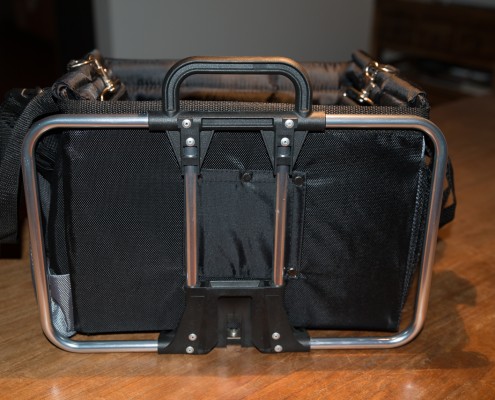
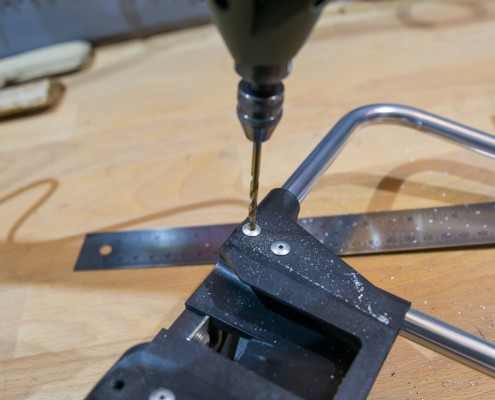
You simply drill the rivet holes out to the diameter of the rivets (3.5mm) and press the rivets out of the rails. I used my Dremel for this but any drilling machine will do.
Here we are – there are four rivets to be drilled out.
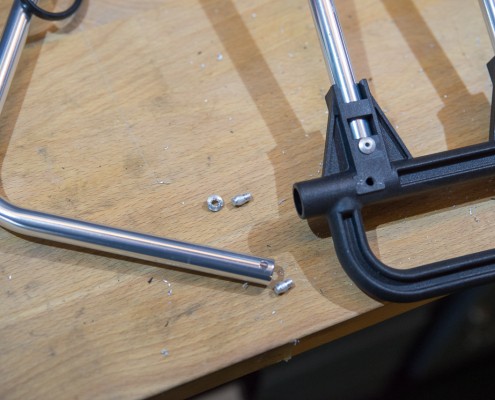
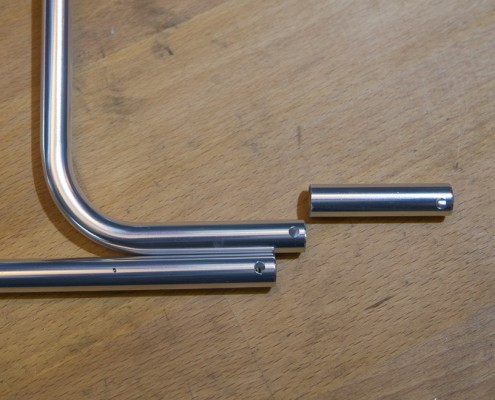
Now I cut the alu rails for about 6cm and drill new 4mm holes for the new rivets we will use in the next step. Use a rasp to clean the ends of the rails.
You need a special tool to mount new blind rivets. With this rivet gun it is really easy to solve the task.
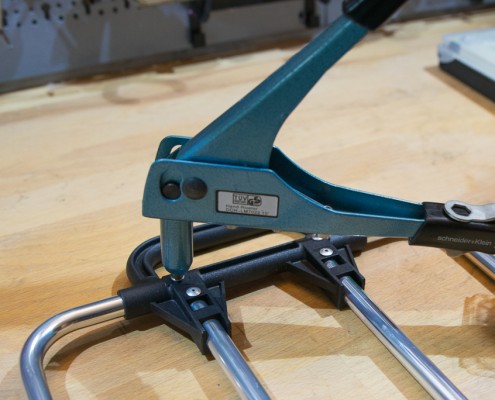
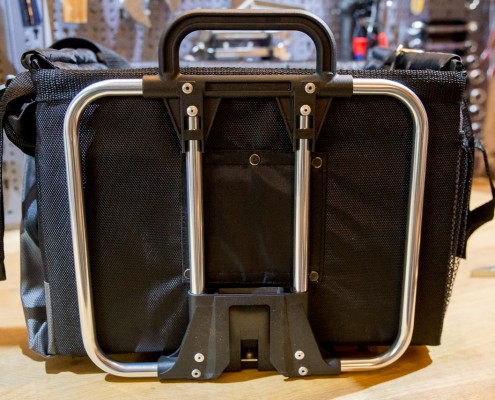
That`s it – my new custom frame for the bag. Looks identical to the original frame – just a little bit shorter. To attach the frame to the bag I need some kind of pocket to insert the frame. I decided to use a sheet of leather and fix it with some rivets to the back of the bag.
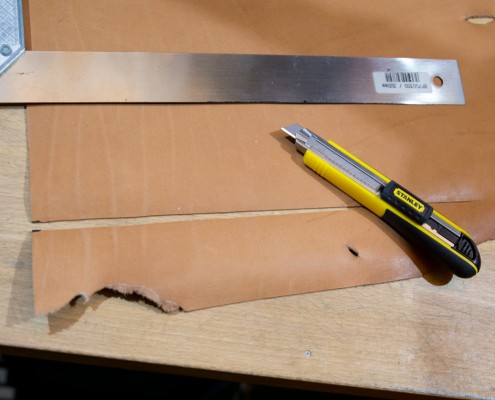
It’s always fun to work with leather. You need a sharp knife and a ruler. The size depends on the bag you use and you have to spare out a piece of leather for the front carrier block.
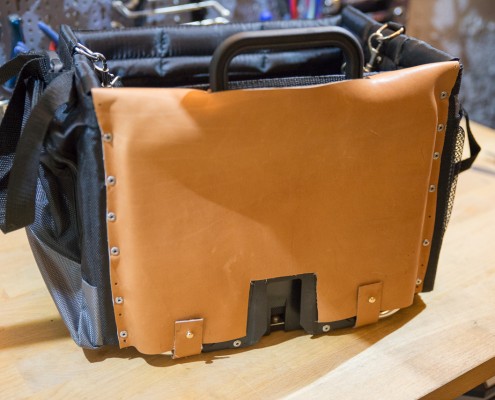
That’s the look of the finished back of my new bag. I added two simple closures so I could remove the frame from the bag. Seems to give a very solid connection between my Brompton and the bag – maybe half of the rivets used to attach the leather to the bag would have been enough. I just wanted to make sure that my new little puppy is safe in her new transportation facility.
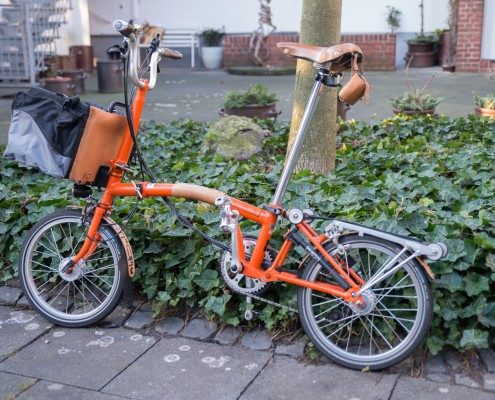
And here you have the final look of the bag attached to my Brompton. Perfect fit for a custom solution and maybe an inspiration for others to mount whatever bag they like to see on the Brompton. I will add some pictures with Carlotta after the first test rides.
3 responses to “Doggy Bag for the Brompton”
Last Entries
Copyright
Categories
- Allgemein (2)
- Brompton (31)
- DIY (5)
- Gear Reviews (13)
- HNF eBike (4)
- Photography (5)
- Service and Repair (13)
Archiv
- May 2018 (1)
- February 2018 (1)
- December 2017 (1)
- October 2017 (1)
- May 2017 (1)
- January 2015 (1)
- June 2014 (2)
- March 2014 (2)
- January 2014 (1)
- November 2013 (1)
- September 2013 (1)
- August 2013 (2)
- July 2013 (4)
- June 2013 (2)
- May 2013 (7)
- March 2013 (1)
- January 2013 (1)
- November 2012 (1)
- October 2011 (1)
- August 2011 (1)
- May 2011 (1)
- September 2010 (1)
- February 2010 (1)
- September 2009 (2)
- September 2008 (1)
- May 2008 (1)
 Grasshopper FX – a folder, a recumbent, an experiment (failed)
That’s a beautiful job, and looks very secure. I’ve made quite a few bags for my Brompton, and modified several frames. For normal loads, I’ve not even bothered to re-secure the side rivets. I’ve found that the tight sleeve into which the frame slips provies more than enough tension so that the frame retains its shape. I’m glad you went the extra step for Carlotta, though — transporting a friend is a bit different to transporting vegetables!
How much are these bags
the bag without the mods and the rail was 25 €